|
| 1 | +--- |
| 2 | +title: "How to do cross-platform end-to-end testing with Testsigma" |
| 3 | +metadesc: "This document describes the step-by-step details of how to create a test plan for cross-platform end-to-end testing with Testsigma" |
| 4 | +noindex: false |
| 5 | +order: 4.2 |
| 6 | +page_id: "Cross-Platform End-to-End Testing with Testsigma" |
| 7 | +search_keyword: "Test Plans, Local devices, Testsigma Tutorials" |
| 8 | +warning: false |
| 9 | +contextual_links: |
| 10 | +- type: section |
| 11 | +- name: "Contents" |
| 12 | +- type: link |
| 13 | + name: "Pre-requisites" |
| 14 | + url: "#pre-requisites" |
| 15 | +- type: link |
| 16 | + name: "Steps" |
| 17 | + url: "#steps" |
| 18 | +--- |
| 19 | + |
| 20 | +--- |
| 21 | + |
| 22 | +There will be scenarios when you would want to execute certain test cases on one platform and once those test cases are executed, certain other dependent test cases on a different platform. |
| 23 | + |
| 24 | +For example, for a flight booking application, you might book the flight on the desktop web and then could want to modify the bookings on your android application, and then you might want to cancel the bookings on your iPad application. |
| 25 | + |
| 26 | +The flow would look something like the below: |
| 27 | + |
| 28 | +* Book the flight on the desktop web |
| 29 | + |
| 30 | +* Modify the booking done in step 1 on the android application |
| 31 | + |
| 32 | +* Cancel the booking done in step 1 and modified in step 2, on the iPad application. |
| 33 | + |
| 34 | + |
| 35 | +Today, when applications are made to provide the same experience on multiple different platforms - such a scenario is valid and common. With Testsigma, you can test such cross-platform end-to-end testing scenarios easily. |
| 36 | + |
| 37 | +Let’s see how cross-platform end-to-end test automation can be done with Testsigma: |
| 38 | + |
| 39 | + |
| 40 | +--- |
| 41 | +> ## [Pre-requisites](#pre-requisites) |
| 42 | +> The test suites containing test cases for the above scenarios should be already there. That is, Test cases to: |
| 43 | +> * Book the flight on the desktop web |
| 44 | +> * Modify an existing booking on an android application |
| 45 | +> * Cancel a booking on an iPad application |
| 46 | +
|
| 47 | + |
| 48 | +For the above, you should know how to: |
| 49 | + |
| 50 | +1. [Automate a test case in Testsigma](https://testsigma.com/docs/test-cases/manage/add-edit-delete/) |
| 51 | +2. [Create a Test Suite in Testsigma](https://testsigma.com/docs/test-management/test-suites/overview/) |
| 52 | +3. [Create a Test Plan in Testsigma](https://testsigma.com/docs/test-management/test-plans/overview/) |
| 53 | + |
| 54 | + |
| 55 | +--- |
| 56 | + |
| 57 | +## [Steps](#steps) |
| 58 | + |
| 59 | +1. Add a Test Plan. |
| 60 | + |
| 61 | +2. Enter the Test Name. For example, below is how we have added the Test Name for our example Test case: |
| 62 | + |
| 63 | + |
| 64 | + |
| 65 | +3. Click on the Next Button on the ‘Create Test Plan’ Tab, the tab ‘Test Machines & Suites Selection’ Opens Up: |
| 66 | + |
| 67 | + |
| 68 | + |
| 69 | +4. On Tab 2, select the type as ‘Distributed Testing’ and select the Project containing the test suite, select the test suite, and select the test machine you want to execute it on. For our purpose, we chose “Simple Demo(Web)” as project, “Book Flight” as the test suite, and Latest Google Chrome on Windows 11 as the test machine. Below is a screenshot with the mentioned selections, for your reference: |
| 70 | + |
| 71 | +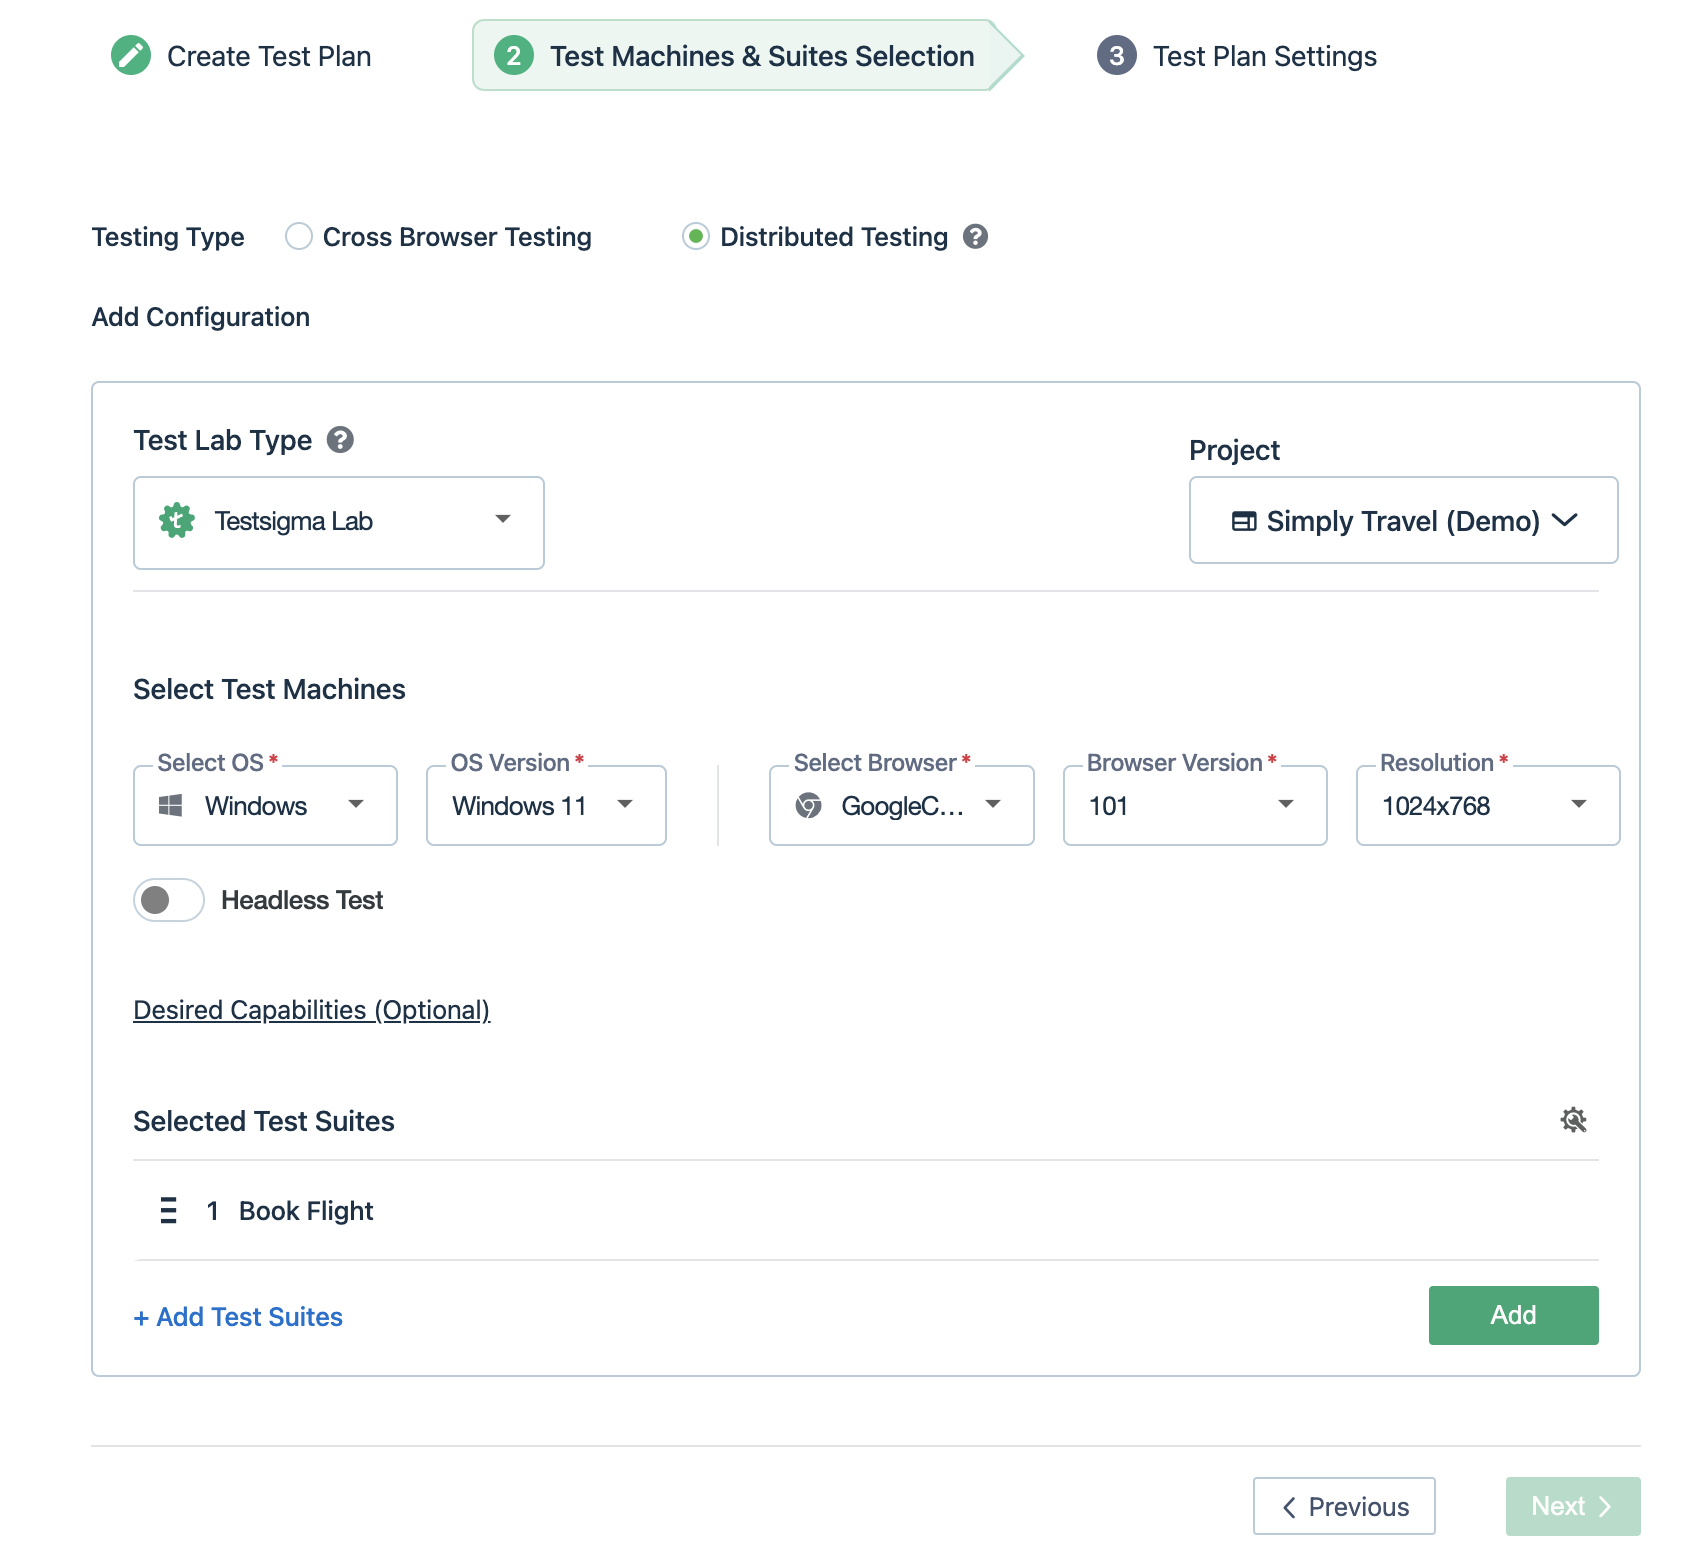 |
| 72 | + |
| 73 | +5. Click on the ‘Add’ button to add this selection to test plan execution. Below is what you will see after clicking on the add button. |
| 74 | + |
| 75 | + |
| 76 | + |
| 77 | +6. Now click on the big green ‘Add’ Button. Now you are ready to add another test execution combination (test suite + test machine) to the test plan. Below is a screenshot of how the screen appears: |
| 78 | + |
| 79 | + |
| 80 | + |
| 81 | +7. Here, choose the test suite for modifying booking for android ‘Modify Booking’, and choose the prerequisite as the test execution setting that was added in step 5. The test execution chosen in step 5, would appear as a drop-down for pre-requisites. Below is a screenshot of how the selection looks for our example E2E testing scenario: |
| 82 | + |
| 83 | + |
| 84 | + |
| 85 | +8. Click on the ‘Add’ Button to add this configuration to the test plan execution. |
| 86 | + |
| 87 | +9. Similarly, add another test execution combination (test suite + test machine) to the test plan - ‘Cancel Booking’ Test Suite for iOS. Below is how selection looks for the example E2E test scenario: |
| 88 | + |
| 89 | + |
| 90 | + |
| 91 | + |
| 92 | +10. Now, click on the ‘Add’ Button to add this configuration to the test plan execution. Below is how all the added test executions look: |
| 93 | + |
| 94 | + |
| 95 | + |
| 96 | +11. Click on the ‘Next’ Button. On the third tab ‘Test Plan Settings’, you can add the edit the settings to suit your needs and click on the ‘Create’ Button at the bottom as also shown in the screenshot below: |
| 97 | + |
| 98 | +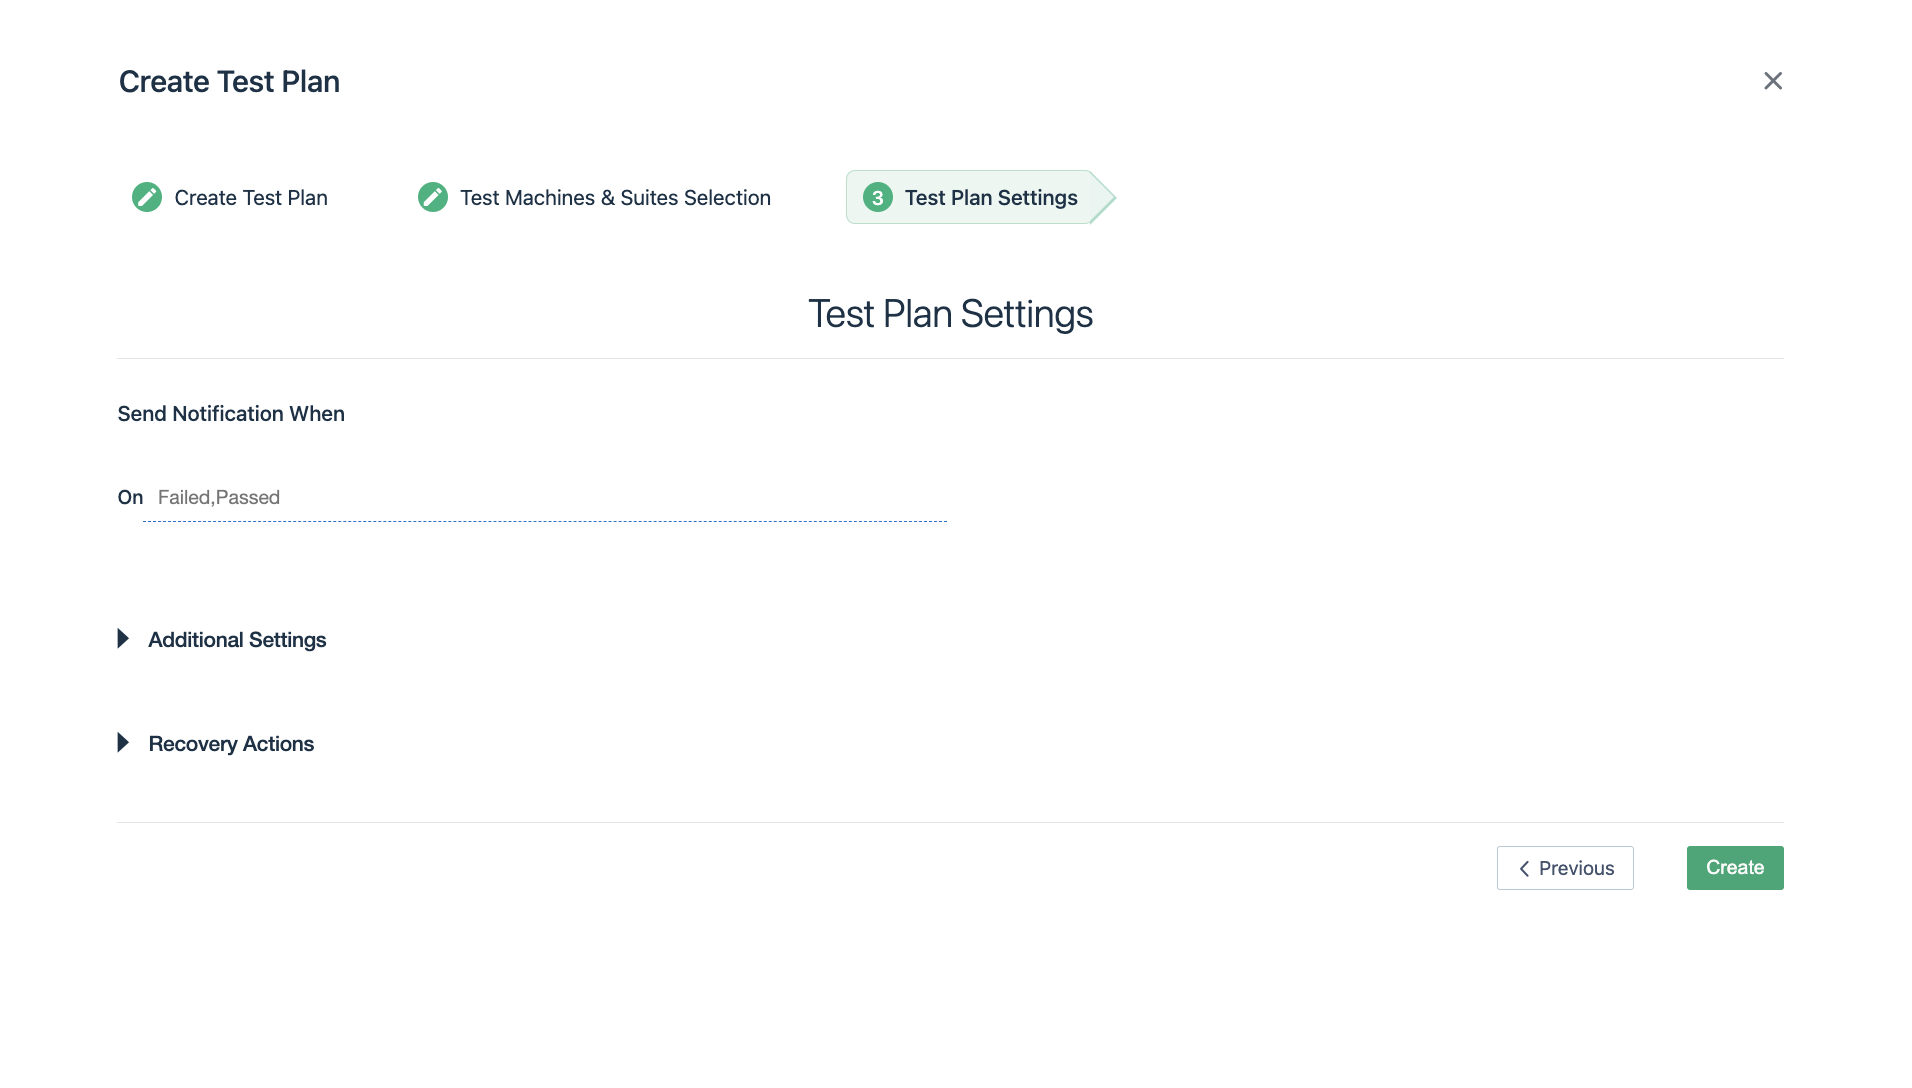 |
| 99 | + |
| 100 | +12. Once the test plan is created, you will be taken to the test plan page, as shown below: |
| 101 | + |
| 102 | +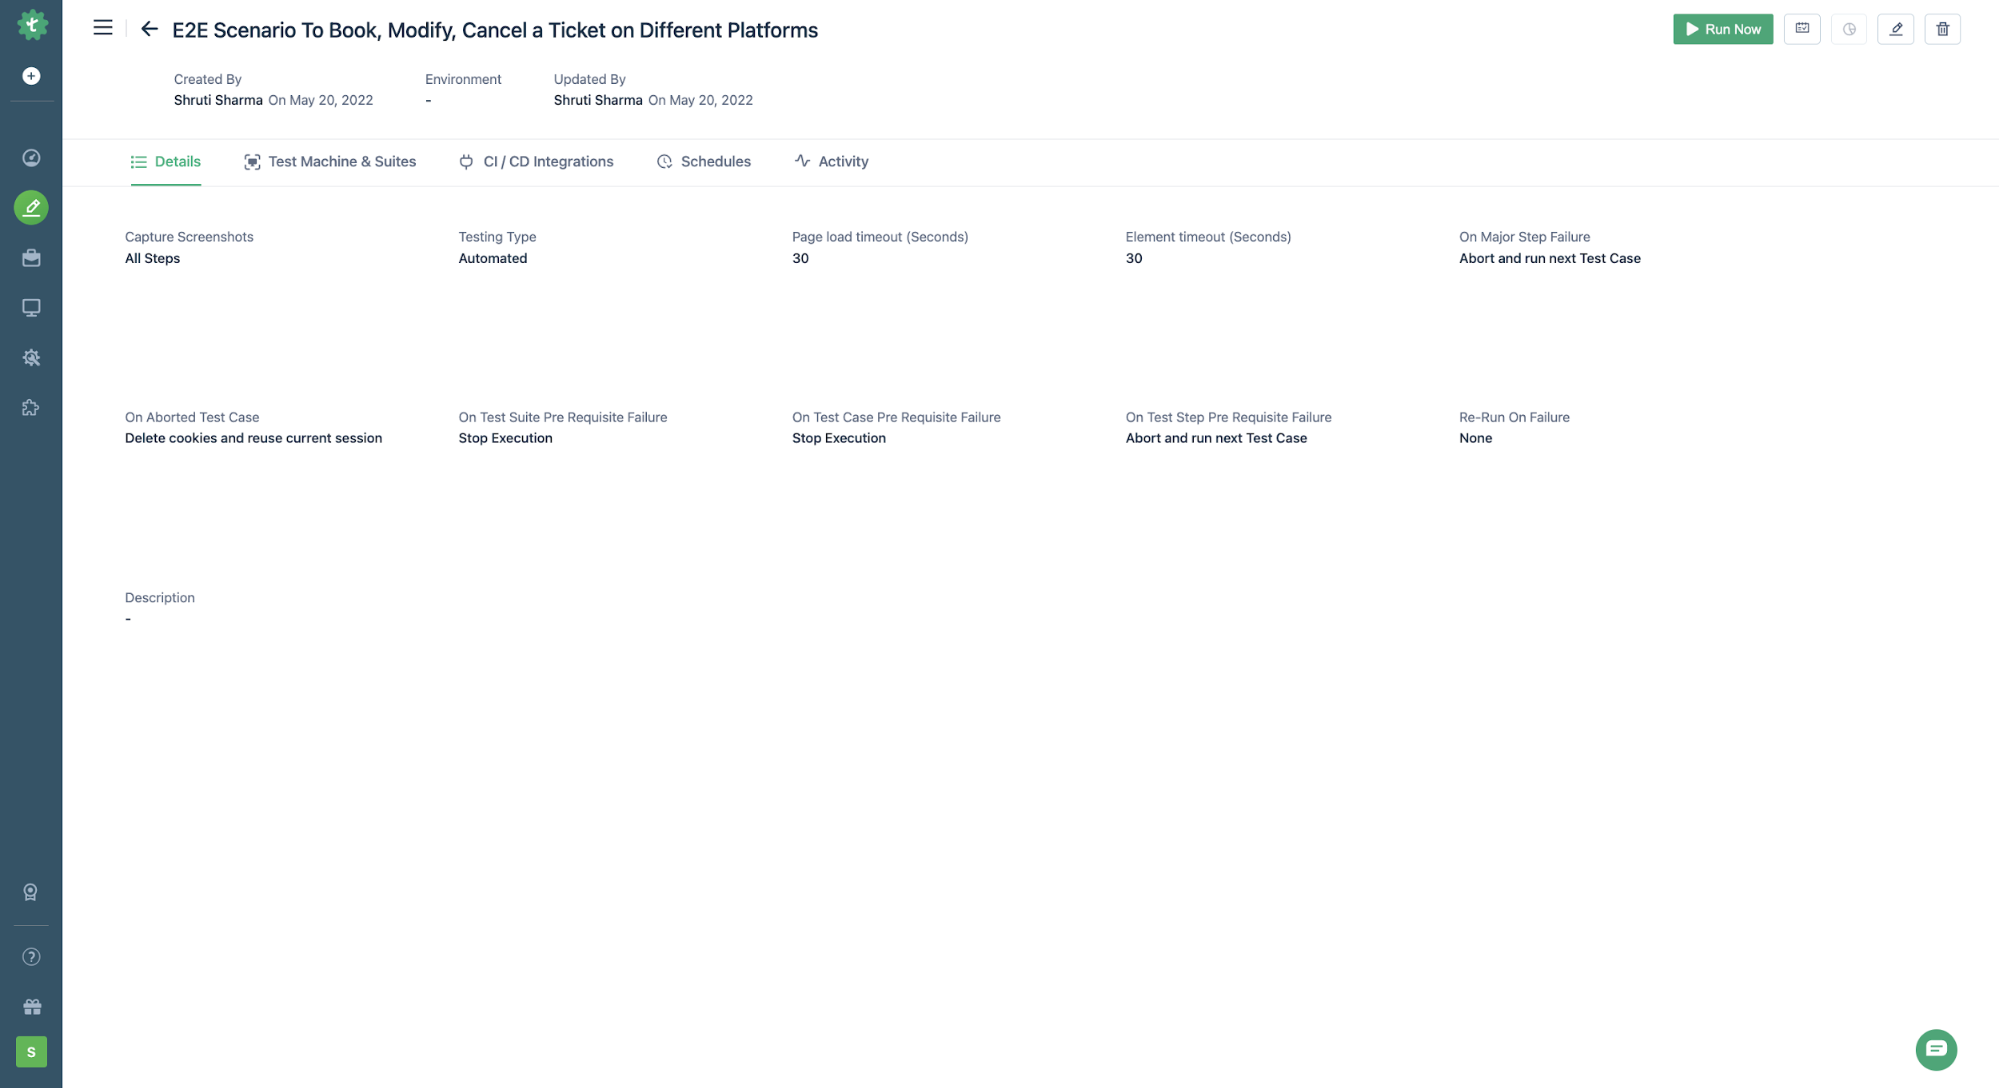 |
| 103 | + |
| 104 | +13. On the Test Plan Page, you can click on the ‘Run Now’ button to see the test plan in execution. You can click on the ‘View Reports’ button to go to report. The button is highlighted below: |
| 105 | + |
| 106 | + |
| 107 | + |
| 108 | +Alternatively, below is a gif demonstrating the above steps for configuring a cross-platform end-to-end test scenario with Testsigma: |
0 commit comments